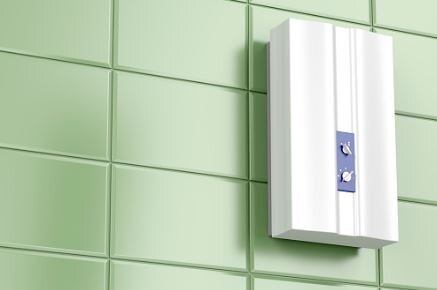
A tankless water heater heats water on demand instead of storing the hot water in a tank. Manufacturers recommend their units be flushed at least once a year to eliminate the buildup of calcium and other minerals within the unit.
This process of flushing out a tankless water heater typically takes up to an hour. Here are the steps and tools you’ll need to flush out your tankless water heater.
You’ll Need….
1. Screwdriver
2. Non-contact electrical teaser
3. 5-gallon bucket
4. Sump pump
5. 2 sections of garden hose with connectors that are 6 feet long
You’ll Need To…
1. Turn off the electrical circuit for the water heater at the breaker panel. If the water heater uses a gas heater, rotate the gas cutoff counterclockwise to turn off the gas to the unit.
2. Remove the cover plate of the water heater unit with a screwdriver to access the unit’s wiring. Hold the tip of a non-contact electrical tester against the wiring leading into the terminals. If the tester light turns on, continue turning off breakers or the main circuit breaker to the house until testing all wires shows that no power is accessing the system. Replace the cover plate.
3. Turn off the water supply valve that feeds cold water to the water heater. Turn off the main hot water valve that sends hot water to the local fixture or multiple fixtures in the house.
4. Connect one end of a 6-foot garden hose to the outlet of a sump pump, then connect the other end of the hose to the cold-water isolation valve. Connect a second garden hose to the hot-water isolation valve. Tighten the garden hose couplers with an adjustable wrench.
5. Place the pump and the open end of the second hose into a 5-gallon bucket. Fill the bucket with 5 gallons of fresh, clean white vinegar.
6. Open the hot and cold isolation valves on the water heater and turn on the pump in the 5-gallon bucket to circulate the vinegar through the heater.
7. Let the pump circulate for 45 minutes, then turn off the pump and let the vinegar drain from the water heater through the hoses into the bucket. Close the cold-water isolation valve.
8. Dump the vinegar out of the bucket, then place the open-ended hose back into the bucket. Turn on the cold-water supply valve and let the water flow back into the bucket for five minutes. Close the cold-water supply valve and disconnect the garden hoses from the inlet valves.
9. Turn off the hot-water isolation valve. Remove the inlet filter screen per the owner’s manual for the water heater and rinse the screen to remove any sediment. Reinstall the screen.
10. Turn on the hot-water supply valve, followed by the cold-water supply valve. Open a couple of hot-water faucets in the hose to bleed any air from the hot-water lines. Close the faucets once no more air is in the lines.
11. Look over the water heater’s connections to make sure there are no leaks. Turn on the gas supply valve, if so equipped, and the circuit breaker for the water heater. Test for hot water at the faucets.
If you run into any troubles along the way, be sure to give us a call to have a technician come out ASAP!

