
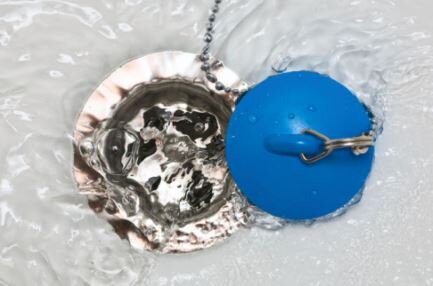
There are two reasons why most stopper malfunctions occur- either it’s out of alignment, or it’s clogged with hair and gunk. You can address both problems in the same repair. Best of all, you don’t need to buy a new toolkit. For most sink setups, all you need to fix a problem with the stopper is a pair of adjustable pliers and a cleaning brush. All you have to do is crawl under the sink and look for the nut that sticks out of the back of the drain plumbing. A rod comes out of the nut and is connected to a bar that leads p toward the faucet handle. Use the pliers to loosen the nut and remove the rod from the pipe, which will allow you to pull the stopper out of the sink entirely.
Since you’re here, this is your opportunity to clean off years of accumulated goo and hair from the stopper. Use the brush and give it a thorough scrubbing. That alone might be enough to fix the problem and allow the stopper to move up and down normally while providing a tight seal. You should also use the brush to clean out goo and biofilm from the inside of your drain plumbing while you have it open.
Then, when you put the stopper back together, you simply adjust it to your liking. Place the stopper back down in the drain, then run the rod through the pipe and the hole in the bottom of the stopper. You can then manually unclip the rod from the flat bar that leads to the faucet handle and reattach it at a point that pulls the stopper down to make a tight seal in the drain. Finally, when everything is where you want it, tighten the nut.
That’s all there is to it. Move the handle on the faucet up and down and make sure the stopper responds to your liking. If not, give it another adjustment. Run some water down the sink and take a look underneath to make sure you tightened the nut properly and didn’t create a leak.